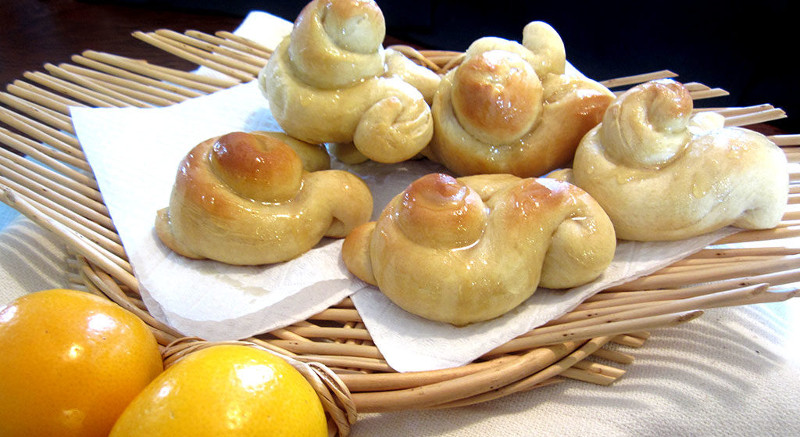
Honey bunnies are the sweet, sticky, bunny-shaped rolls that Catherine’s mom makes every year at Pascha. As Catherine says, “They are the best!”
Honey bunnies
You can use this recipe to make between 8 and 32 bunny-shaped rolls, depending on how you shape them.
Ingredients for the bunny rolls
4 ½ to 5 c flour
2 pkg quick rise yeast
1 tsp salt
2/3 c evaporated milk
1/2 c water
1/2 c honey
1/2 c butter
2 eggs at room temperature
Ingredients for the glaze
1/2 c honey
1/4 c butter
Instructions
Make the dough
- Mix a cup and a half of flour with the yeast and salt in the bowl of a stand mixer.
- Melt the butter in the microwave.
- Heat the evaporated milk, water, honey, and melted butter over low heat until very warm, about 110 degrees. Watch the temperature! If it gets too hot, let it cool before you go on to the next step. Warm milk activates the yeast. Hot milk kills it.
- Gradually add the milk mixture to the flour mixture. Beat for two minutes at medium speed.
- Add the eggs and a half a cup of flour. Beat for two minutes at high speed.
- Remove the bowl from the mixer. With a spoon, stir in the rest of the flour.
- Place the dough in a well-greased bowl. Oil the top of the dough.
- Refrigerate the dough for at least two hours, or up to 24 hours.
- Grease your baking sheets, or line them with parchment paper and spray lightly with no-stick cooking spray.
- Remove the dough from the refrigerator and divide it into four equal-sized pieces. Work with one piece at a time. Put the unused dough back in the refrigerator, covered, while you work.
Shape the bunnies
There are two ways to shape the dough into bunnies. Catherine’s mom uses the scissors method, but I always use the spiral method.
Scissors method
- Take one piece of dough out of the refrigerator. If you want to make 8 bunnies, cut the piece of dough you’re working with in half. If you want to make 12 bunnies, cut the piece of dough into thirds.
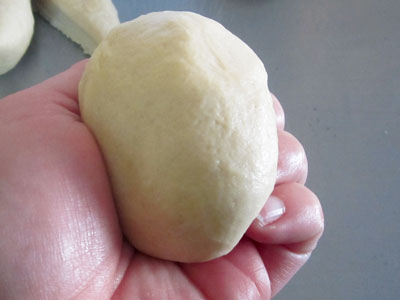
- Pull edges of dough together, pinching the bottom, creating a round top.

- Place the roll pinched side down, leaving a smooth, rounded roll on top.

- Using scissors, cut one snip in the back of the bunny, creating the tail, and cut two slits on top, creating ears.

- If you like, you can use a toothpick to create “eyes” on the bunny, as well as the detail in the ears.
- Repeat until you’ve used all the dough.
Spiral method
- Take one piece of dough out of the refrigerator. If you want to make 16 honey bunnies, cut the piece of dough you’re working with into four equal pieces. If you want to make 32 honey bunnies, cut the dough into six equal pieces.
- For large bunnies, roll each piece into a 20-inch rope, and then cut three 1-inch pieces off the rope for the ears and tails. For small bunnies, roll each piece into a 10-inch rope, and cut three 1/2-inch pieces for the ears and tails.
- This part is harder to explain than it is to do. Put a mark about a third of the way from the end of the rope. Coil one end of the rope down towards the mark, and the other end up towards the mark, in a sort of an S shape. The larger coil is the bunny’s body, and the smaller coil is the bunny’s head. Place the bunny on a greased insulated baking sheet.

- Shape the small pieces for the ears and tail and attach them to the bunnies. The ears and tails are less likely to break off if you moisten the ends of the dough where you attach it to the bunny with a bit of water.
- Repeat until you’ve used all the dough.
Finish the bunnies
- Cover the bunnies with a clean cloth and let them rise in a warm, draft-free place until they have doubled in bulk.
- Preheat the oven to 375F.
- Bake the bunnies for about 12 minutes, until they’re golden. Remove to racks. Cleanup will be easier if you put sheets of waxed paper under the racks before you glaze the bunnies.
- Melt the honey and butter together. Brush the honey bunnies with glaze while they’re still warm.
Read more
Celebrating Pascha: The Queen and Lady of Days: Pascha is the Feast of Feasts, the Holy Day of Holy Days. Christ is risen!
Paska and kulich: My friend’s recipe for traditional Easter bread and a not-quite-as-traditional sweet cheese spread.
Pascha baskets and Pascha basket covers: Carrying heavy wicker baskets of food to Church for Pascha is an ancient and beloved tradition.
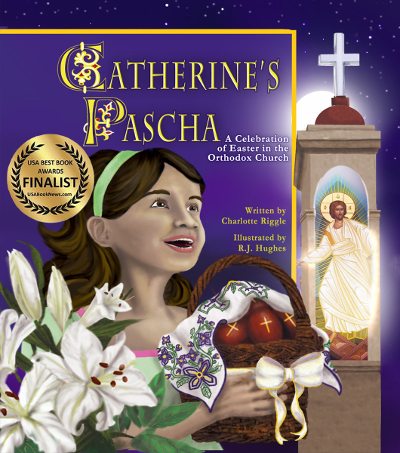
Buy the Book: Catherine’s Pascha

FINALIST IN THE 2015 USA BEST BOOK AWARDS
Catherine doesn’t like vegetables. She doesn’t like naps. She doesn’t like it when her mom combs her hair. She loves hot dogs, chocolate cake, and her best friend, Elizabeth. Most of all, she loves Pascha! Pascha, the Orthodox Christian Easter, is celebrated in the middle of the night, with processions and candles and bells and singing. And Catherine insists that she’s not a bit sleepy.
Celebrate the joy of Pascha through the magic of a book: Catherine’s Pascha. Available on Amazon, Bookshop.org, and my webstore.